要建立一個 TableLayout,需要注意的第一點,
是必須有相對應的 XML 檔案。
像是這樣:

然後可以在 Activity 下,去創建所需的 TableLayout:
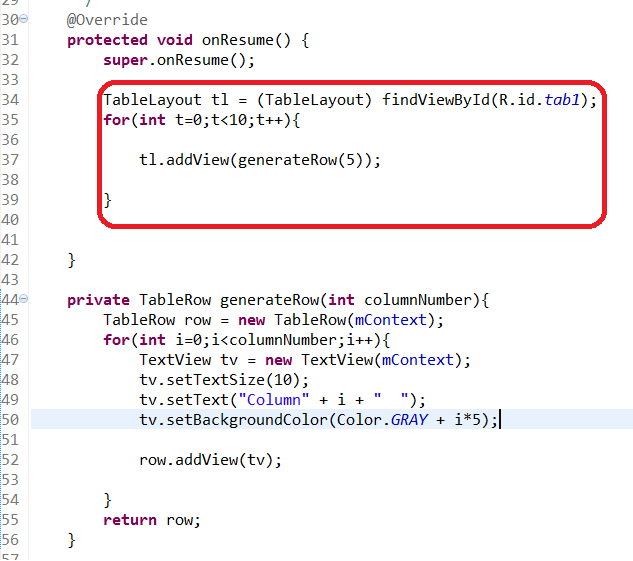
可以創造出這樣的 TableLayout:
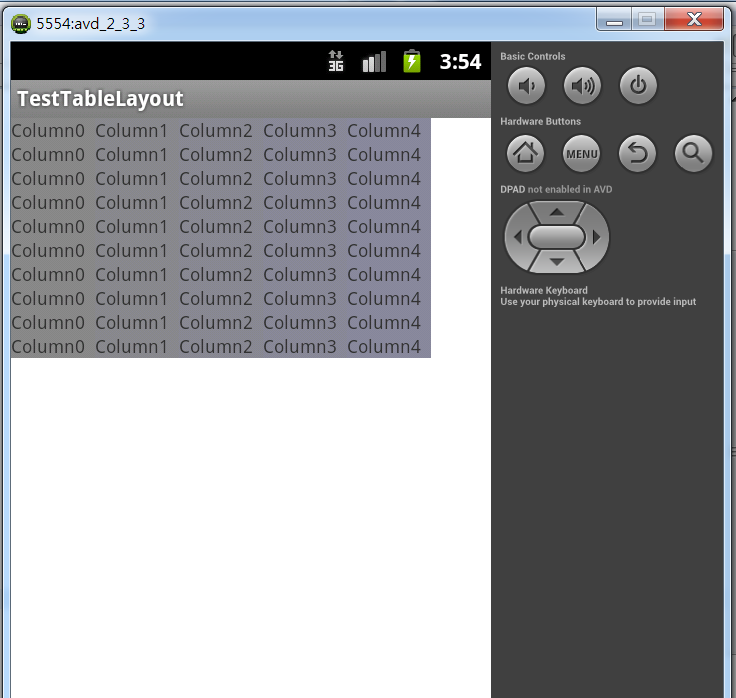
這是最基本的 TableLayout,一般都是使用 TextView 作為欄位,
直接 addView(TextView),TableLayout 就會自動幫我們安排適當大小,
一個一個填入適當位置。
但如果有特殊需求,需要利用 FrameLayout,
或者 LinearLayout 等作為欄位呢?
這也是可行的喔!
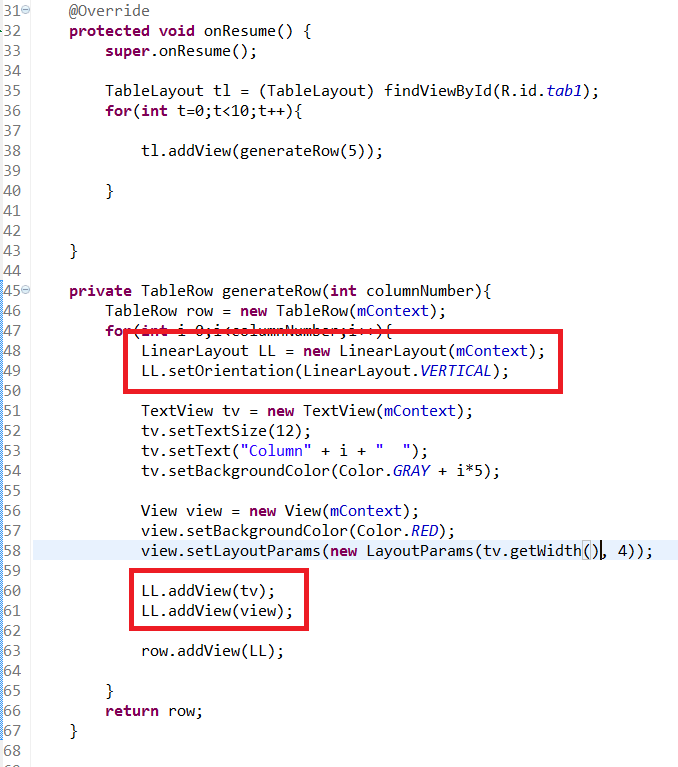
會產生這樣的效果:
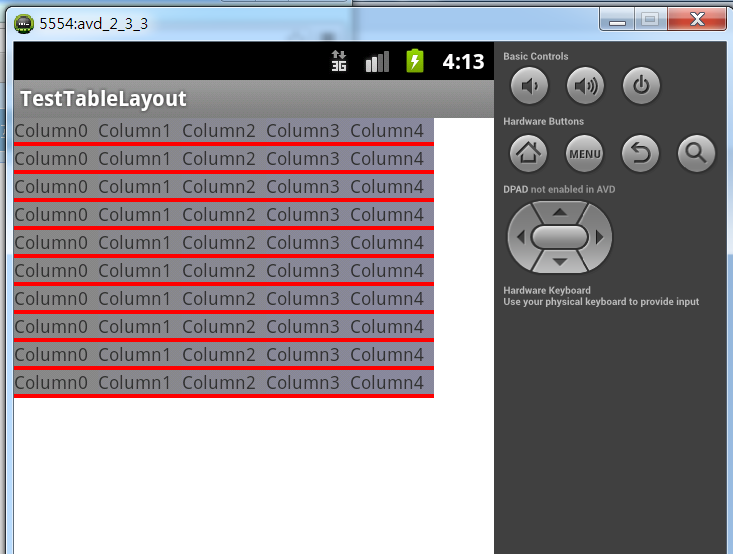
這裡需要注意的地方是,如果作為欄位的 LinearLayout
設定了 LayoutParams,會怎麼樣呢?
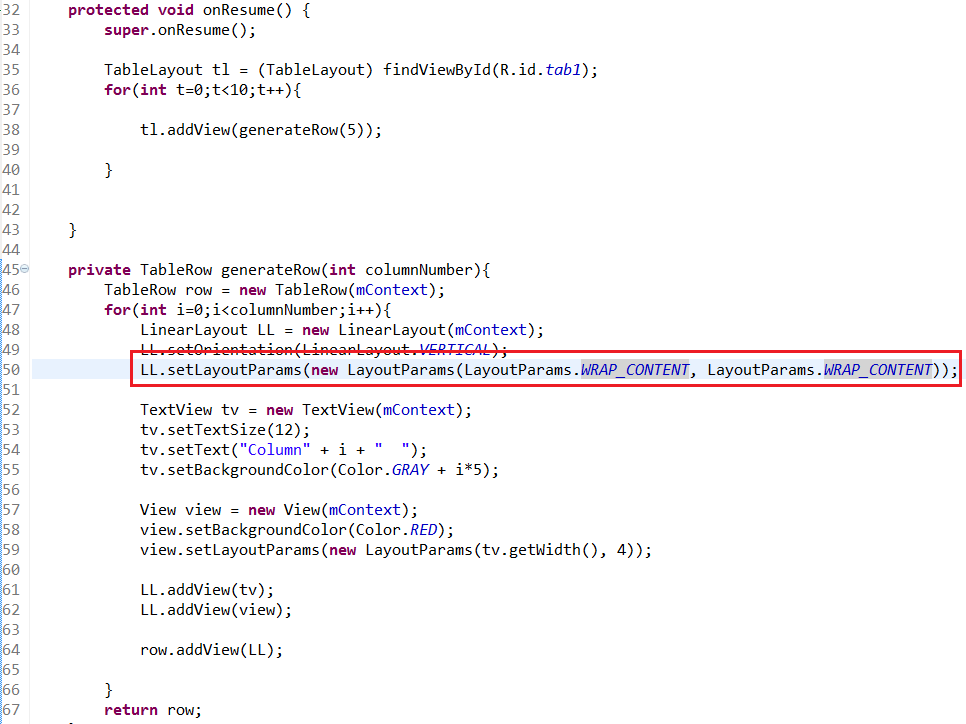
卻發生這樣的結果:
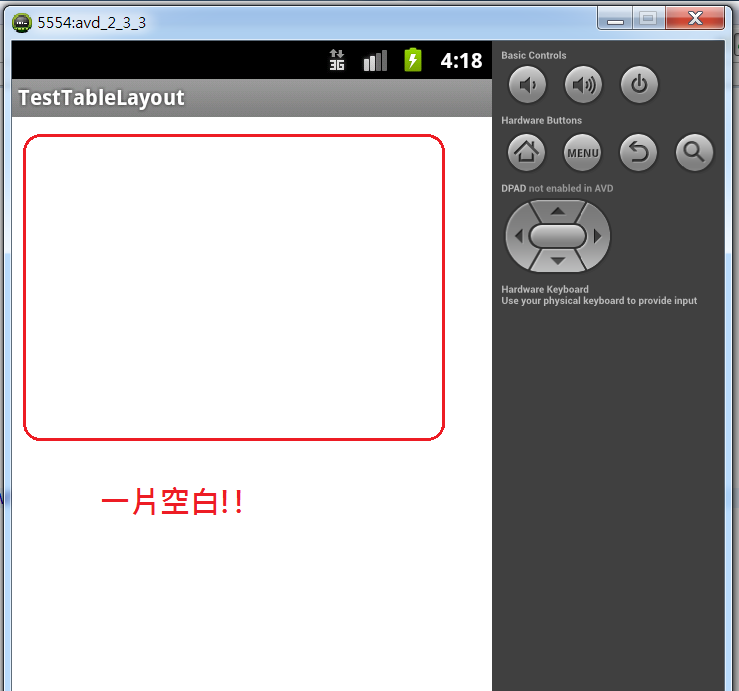
因為 TableRow 是自動去符合內容的欄位,
它的寬度永遠是 fill_parent, 高度永遠是 wrap_content。
在 Google 的 Android Developer 網頁上有此說明:
The children of a TableRow do not need to specify the layout_width and layout_height attributes in the XML file. TableRow always enforces those values to be respectively MATCH_PARENT and WRAP_CONTENT.
所以想要使用LinearLayout 或者 FrameLayout
作為欄位的話,千萬不要去設定 LayoutParams,
否則就會什麼都看不到喔!!


 留言列表
留言列表
